Meet your Vaults.
Keep the cosmetics you wear in a Wardrobe Vault, show them off on armor stands with Display Vaults, and keep track of all of them from My Vaults.
Wardrobe Vault
You can have one Wardrobe Vault on each server. It needs a double chest (Large Chest).
Open the double chest.
With Cosmetics & Wardrobe enabled, open your Large Chest and click Make Wardrobe Vault.
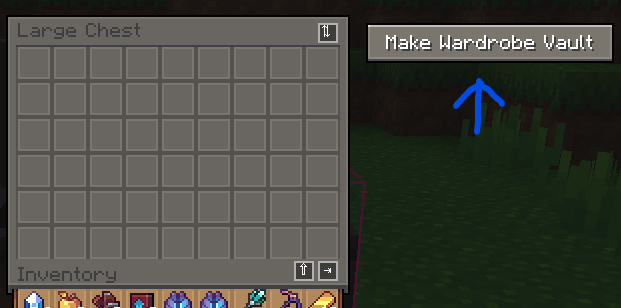
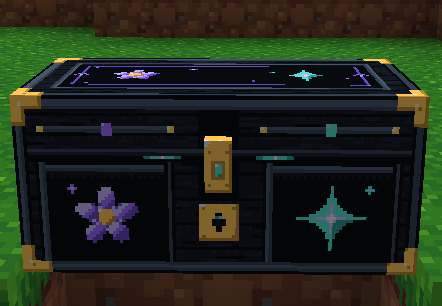
Watch the chest change.
After you assign it, the double chest gets its Wardrobe Vault texture. Put the cosmetic items you want to wear inside. The chest can hold up to 54 item slots.
Other MysticSuite clients can recognize your claimed wardrobe and block their users from opening or breaking it, or placing hoppers to pull items out. This is client-side behavior, not server-side chest protection. Other clients and server activity may still access the chest; your land claim matters.
Find what is available.
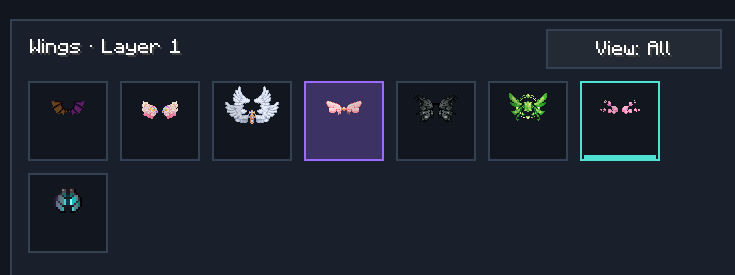
Cosmetics in your wardrobe appear as usable in the cosmetics menu. A light blue outline marks items you can use. Your collection still shows the items you have collected, and you can preview them; an item needs to be in the wardrobe before you can equip it.
For a large collection, toggle the View button between All and the available items in your wardrobe.
Display Vaults
Claim armor stands to show off your cosmetics. You can claim up to 8 armor stands on each server. You'll need a piece of flint.
Switch to Equipment.
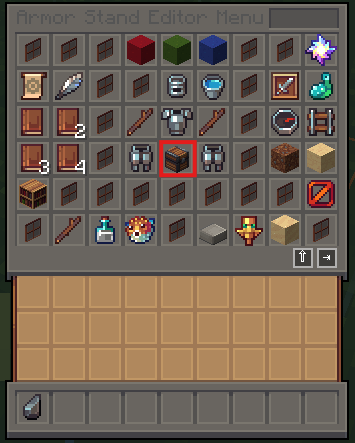
Hold your flint and click anything other than an armor stand. This opens the Armor Stand Editor menu.
Click Equipment, the chest icon highlighted in the picture.
Make it a Display Vault.
Still holding the flint, right-click the armor stand you want to claim. Its equipment screen opens. Click Make Display Vault.
The button shows how many Display Vaults you have on that server, for example (0/8).
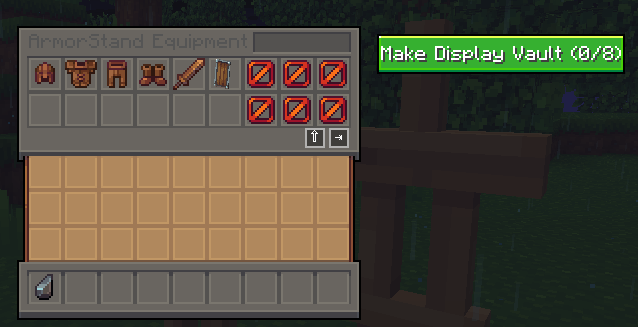
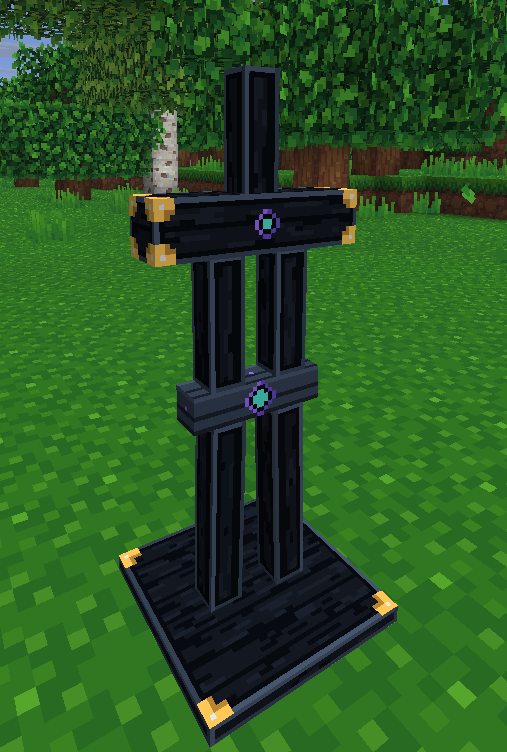
Watch the stand change.
Just like the Wardrobe Vault, a claimed armor stand gets a new look. That's the sign your Display Vault is synced.
Display Vaults follow the same rules as your Wardrobe Vault: they can't be broken until you unassign them, and other players can't access them. This is client-side behavior, not server-side protection, so keep your stands on your claimed land.
My Vaults
Can't get back to one of your vaults? You can see and manage all of them from the cosmetics screen.
See everything you've claimed.
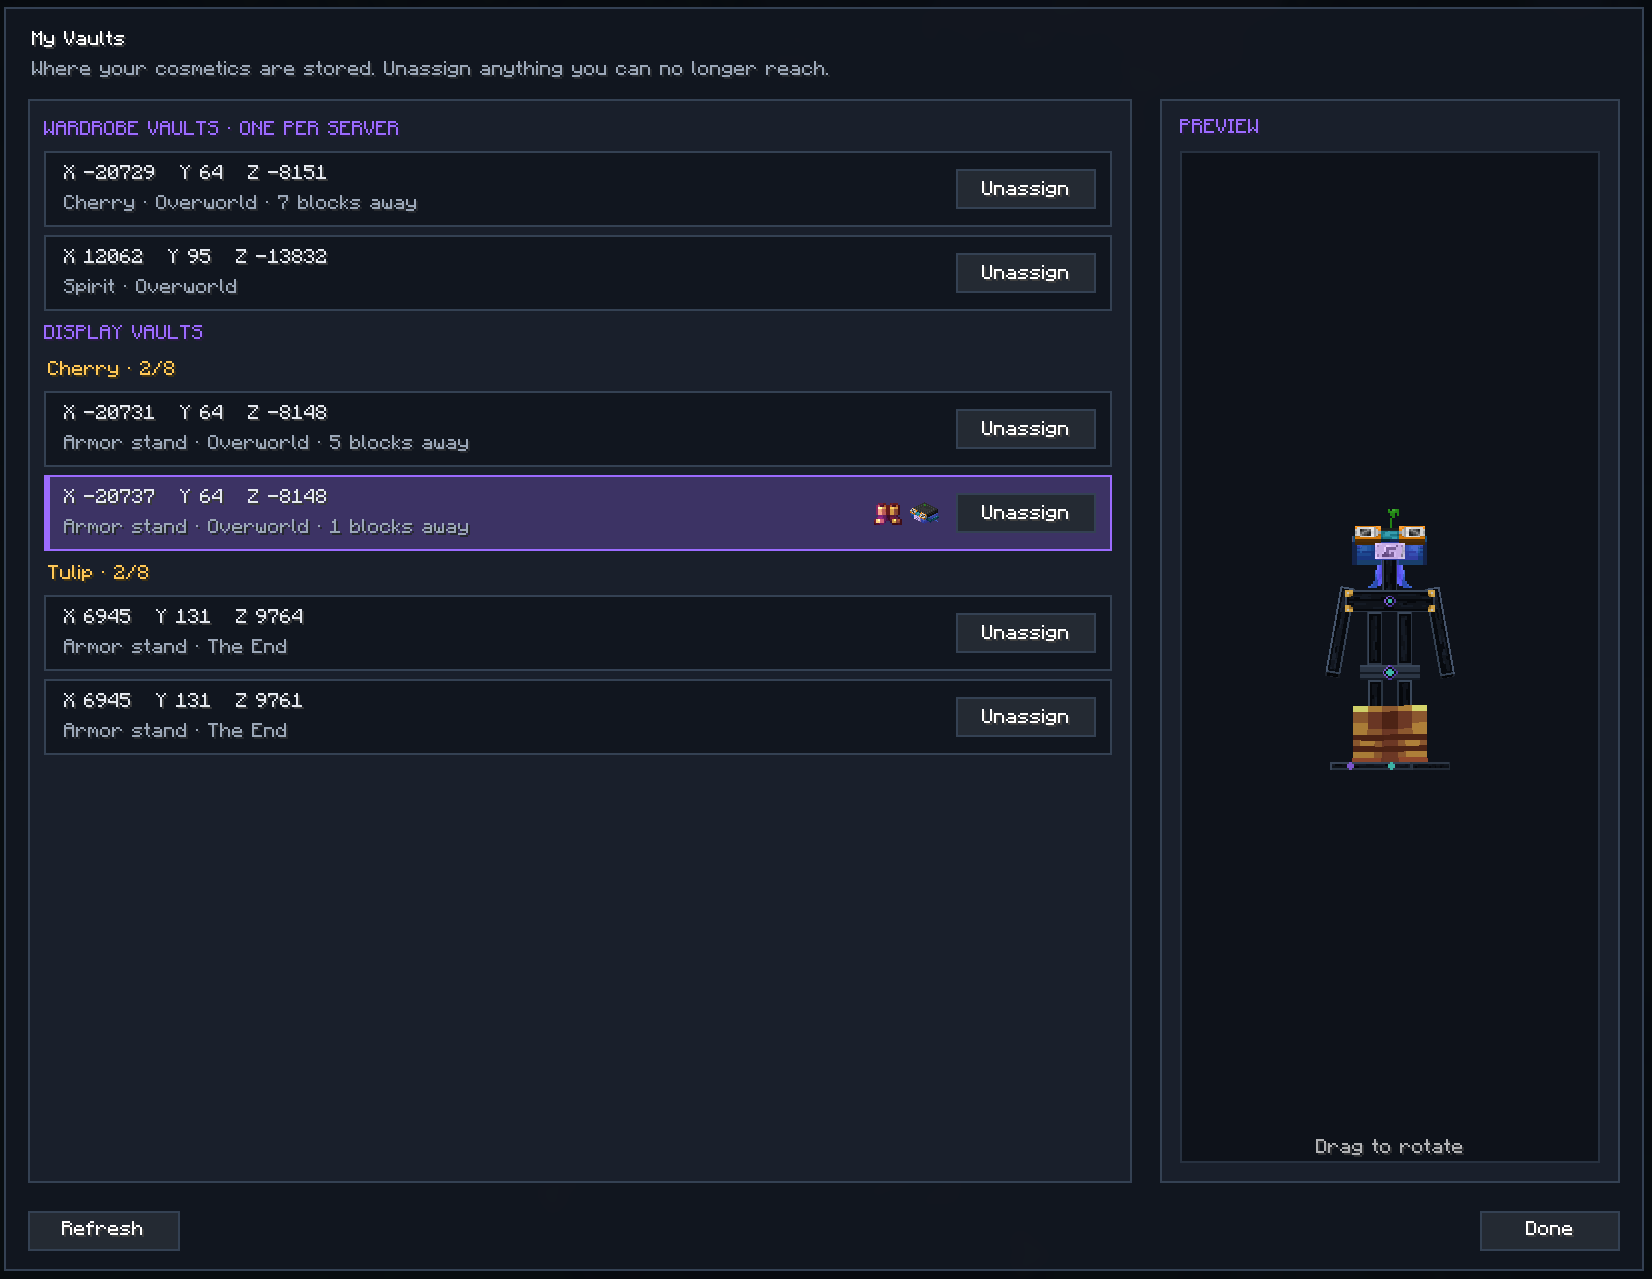
Open the cosmetics screen and click My Vaults in the top right. It lists your Wardrobe Vault for each server and your Display Vaults grouped by server, with their coordinates, dimension and, when you're nearby, how far away they are.
Select a Display Vault to see what it has equipped in the preview. Use Unassign to release any vault you can no longer reach.
What does the Suite store?
Assigning a vault shares its location with the Suite service so clients on the same server can identify it. For a Wardrobe Vault, that includes a list of usable cosmetic IDs. See the privacy details for exactly what is stored and what happens when you unassign a vault.